A Space for Planning: Creating a custom magnetic whiteboard
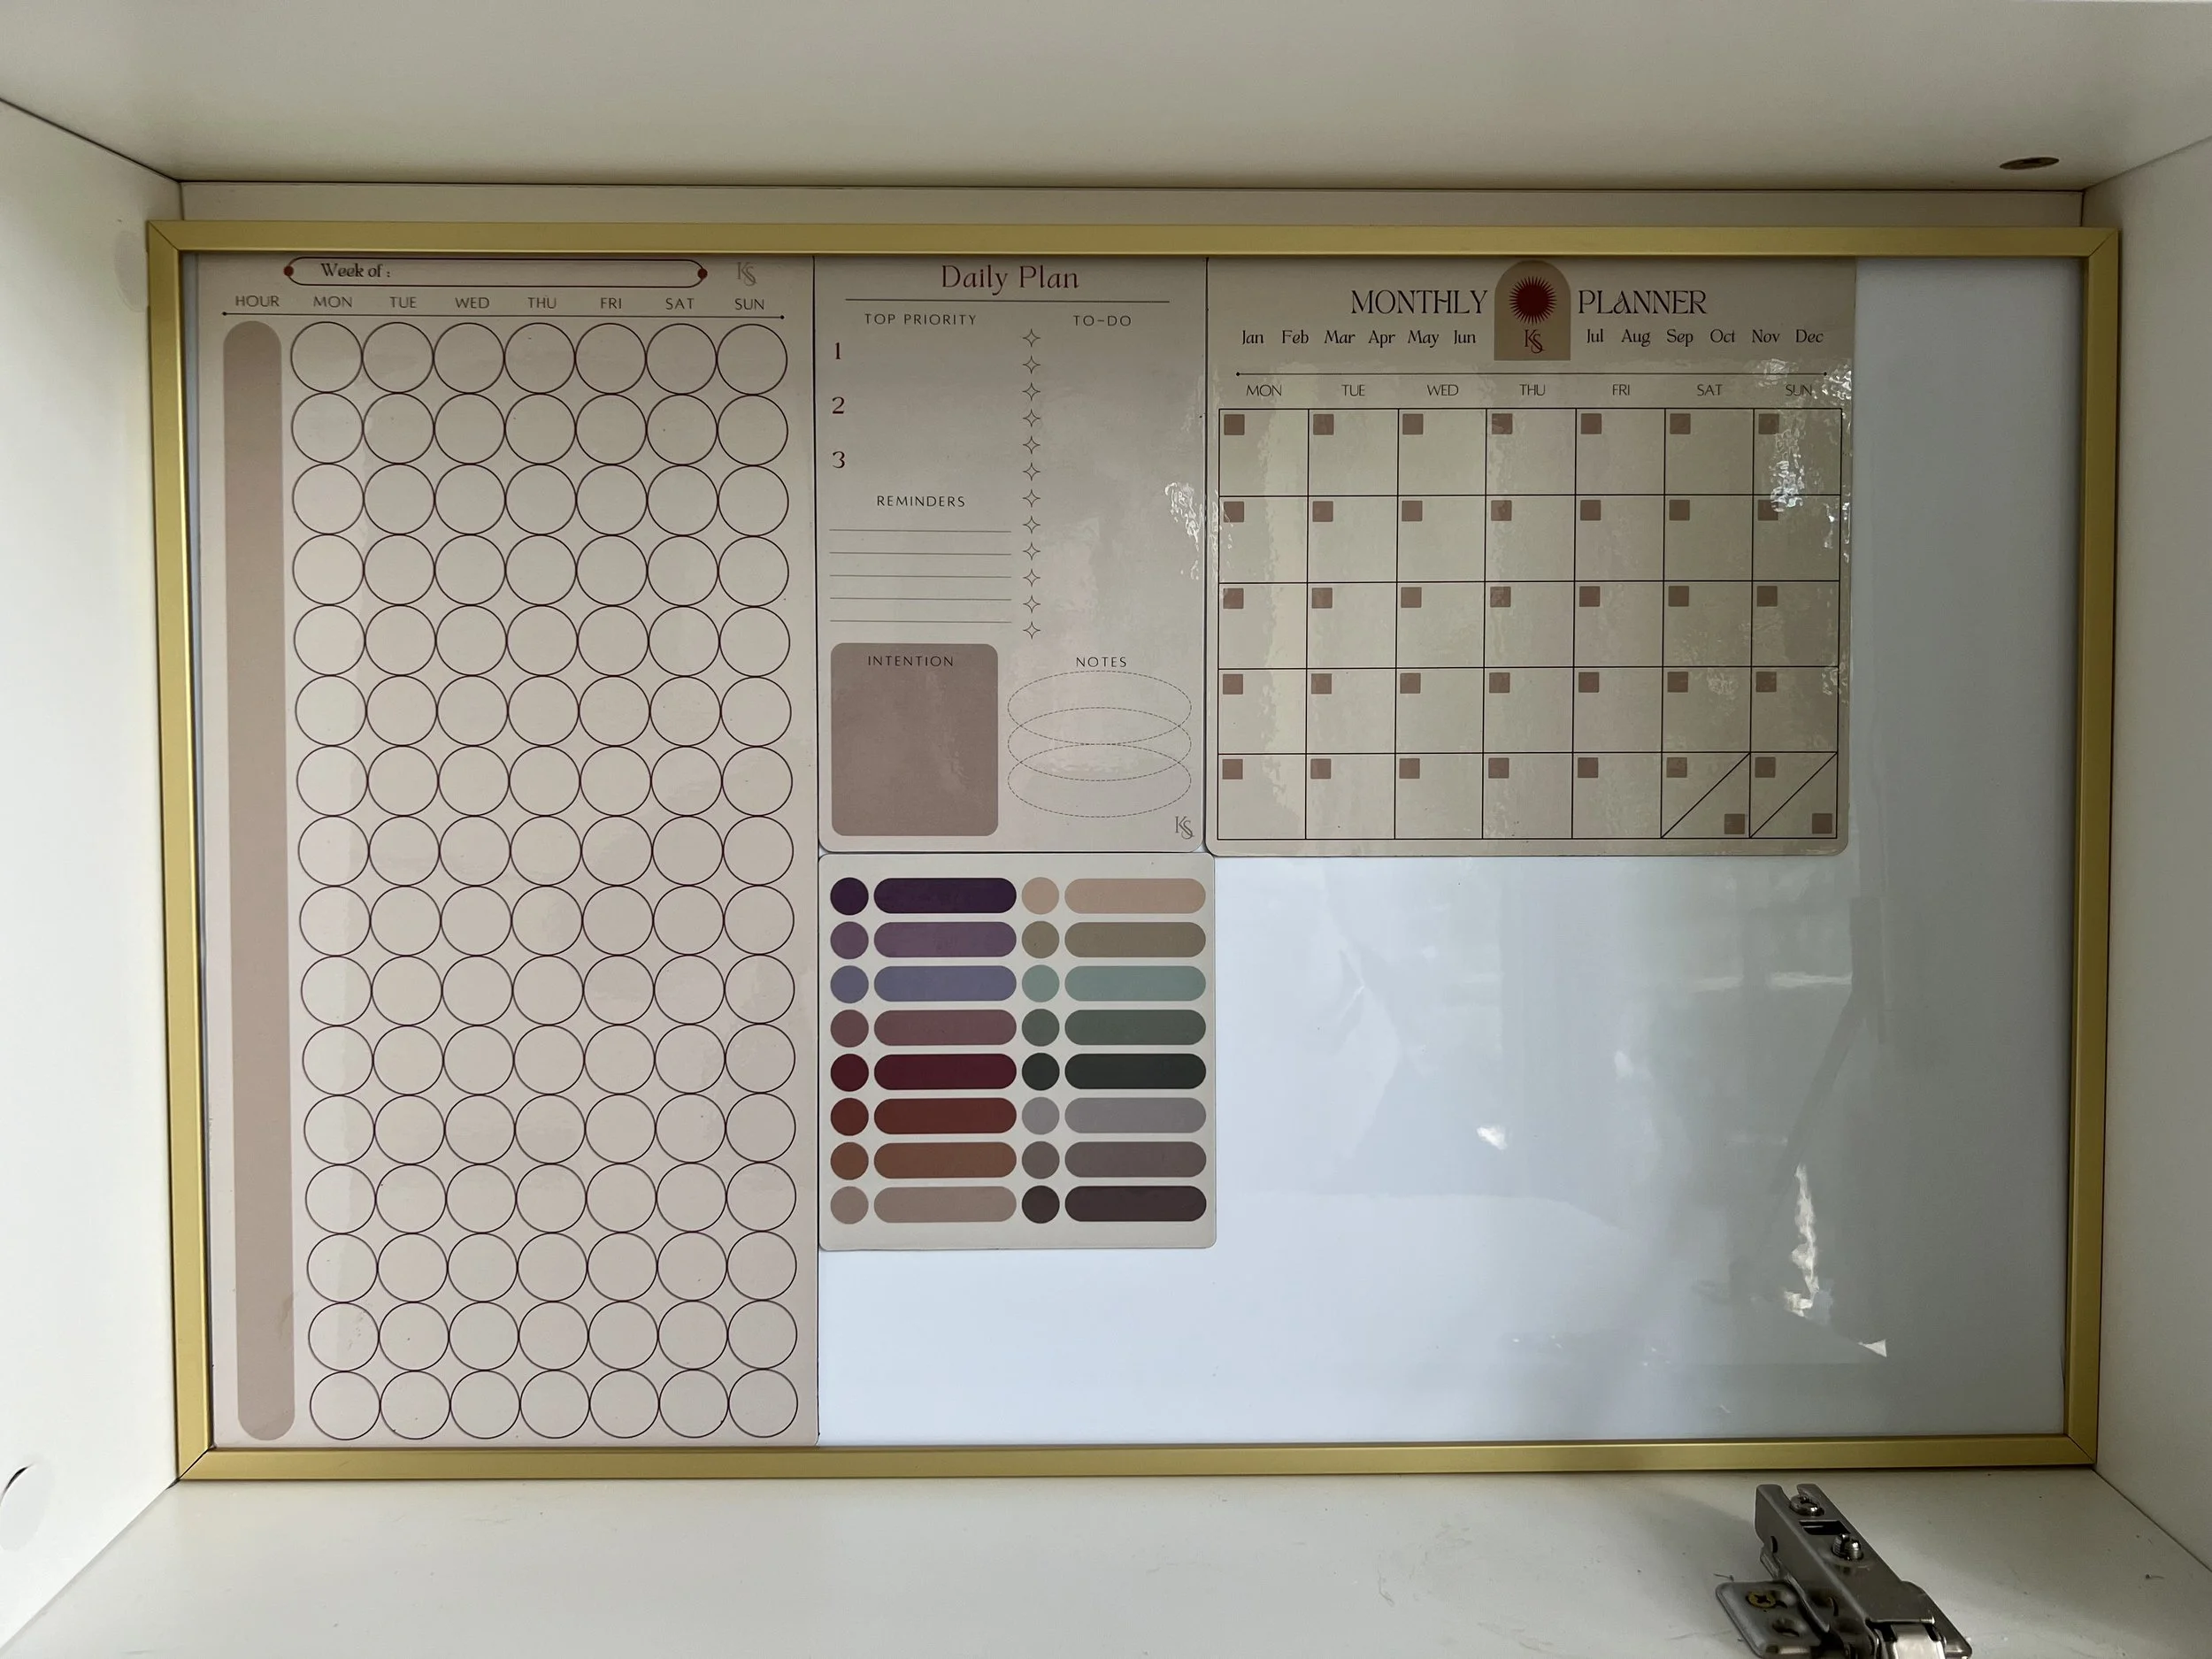
On a whim, I bought a set of dry-erase, magnetic planners. They were aesthetically pleasing, I’m a sucker for planning tools (so says my Cloth & Paper drawer), and they were advertised to me late at night on Instagram. Oof. A lethal needless spending combo. But then they arrived (they were cute!) and I had to determine where they would go. Our fridge is already full of dry-erase planners and calendars that I have created in Canva and laminated (hmmm another post perhaps). I decided I wanted to put them in the space behind my fold-out desk, a space that is mine, rather than the hub and bub area that is the kitchen. I could attach them directly to that back wall space, but then they would be very difficult to write on in a way that was tidy. So I measured the space and googled magnetic whiteboards. I figured a board could be tucked into the space but also removed and laid flat for writing on. I could come close to the correct dimensions if I used a pair, but that would be cumbersome.
So I had the idea to make my own, custom, magnetic whiteboard. What did I need?
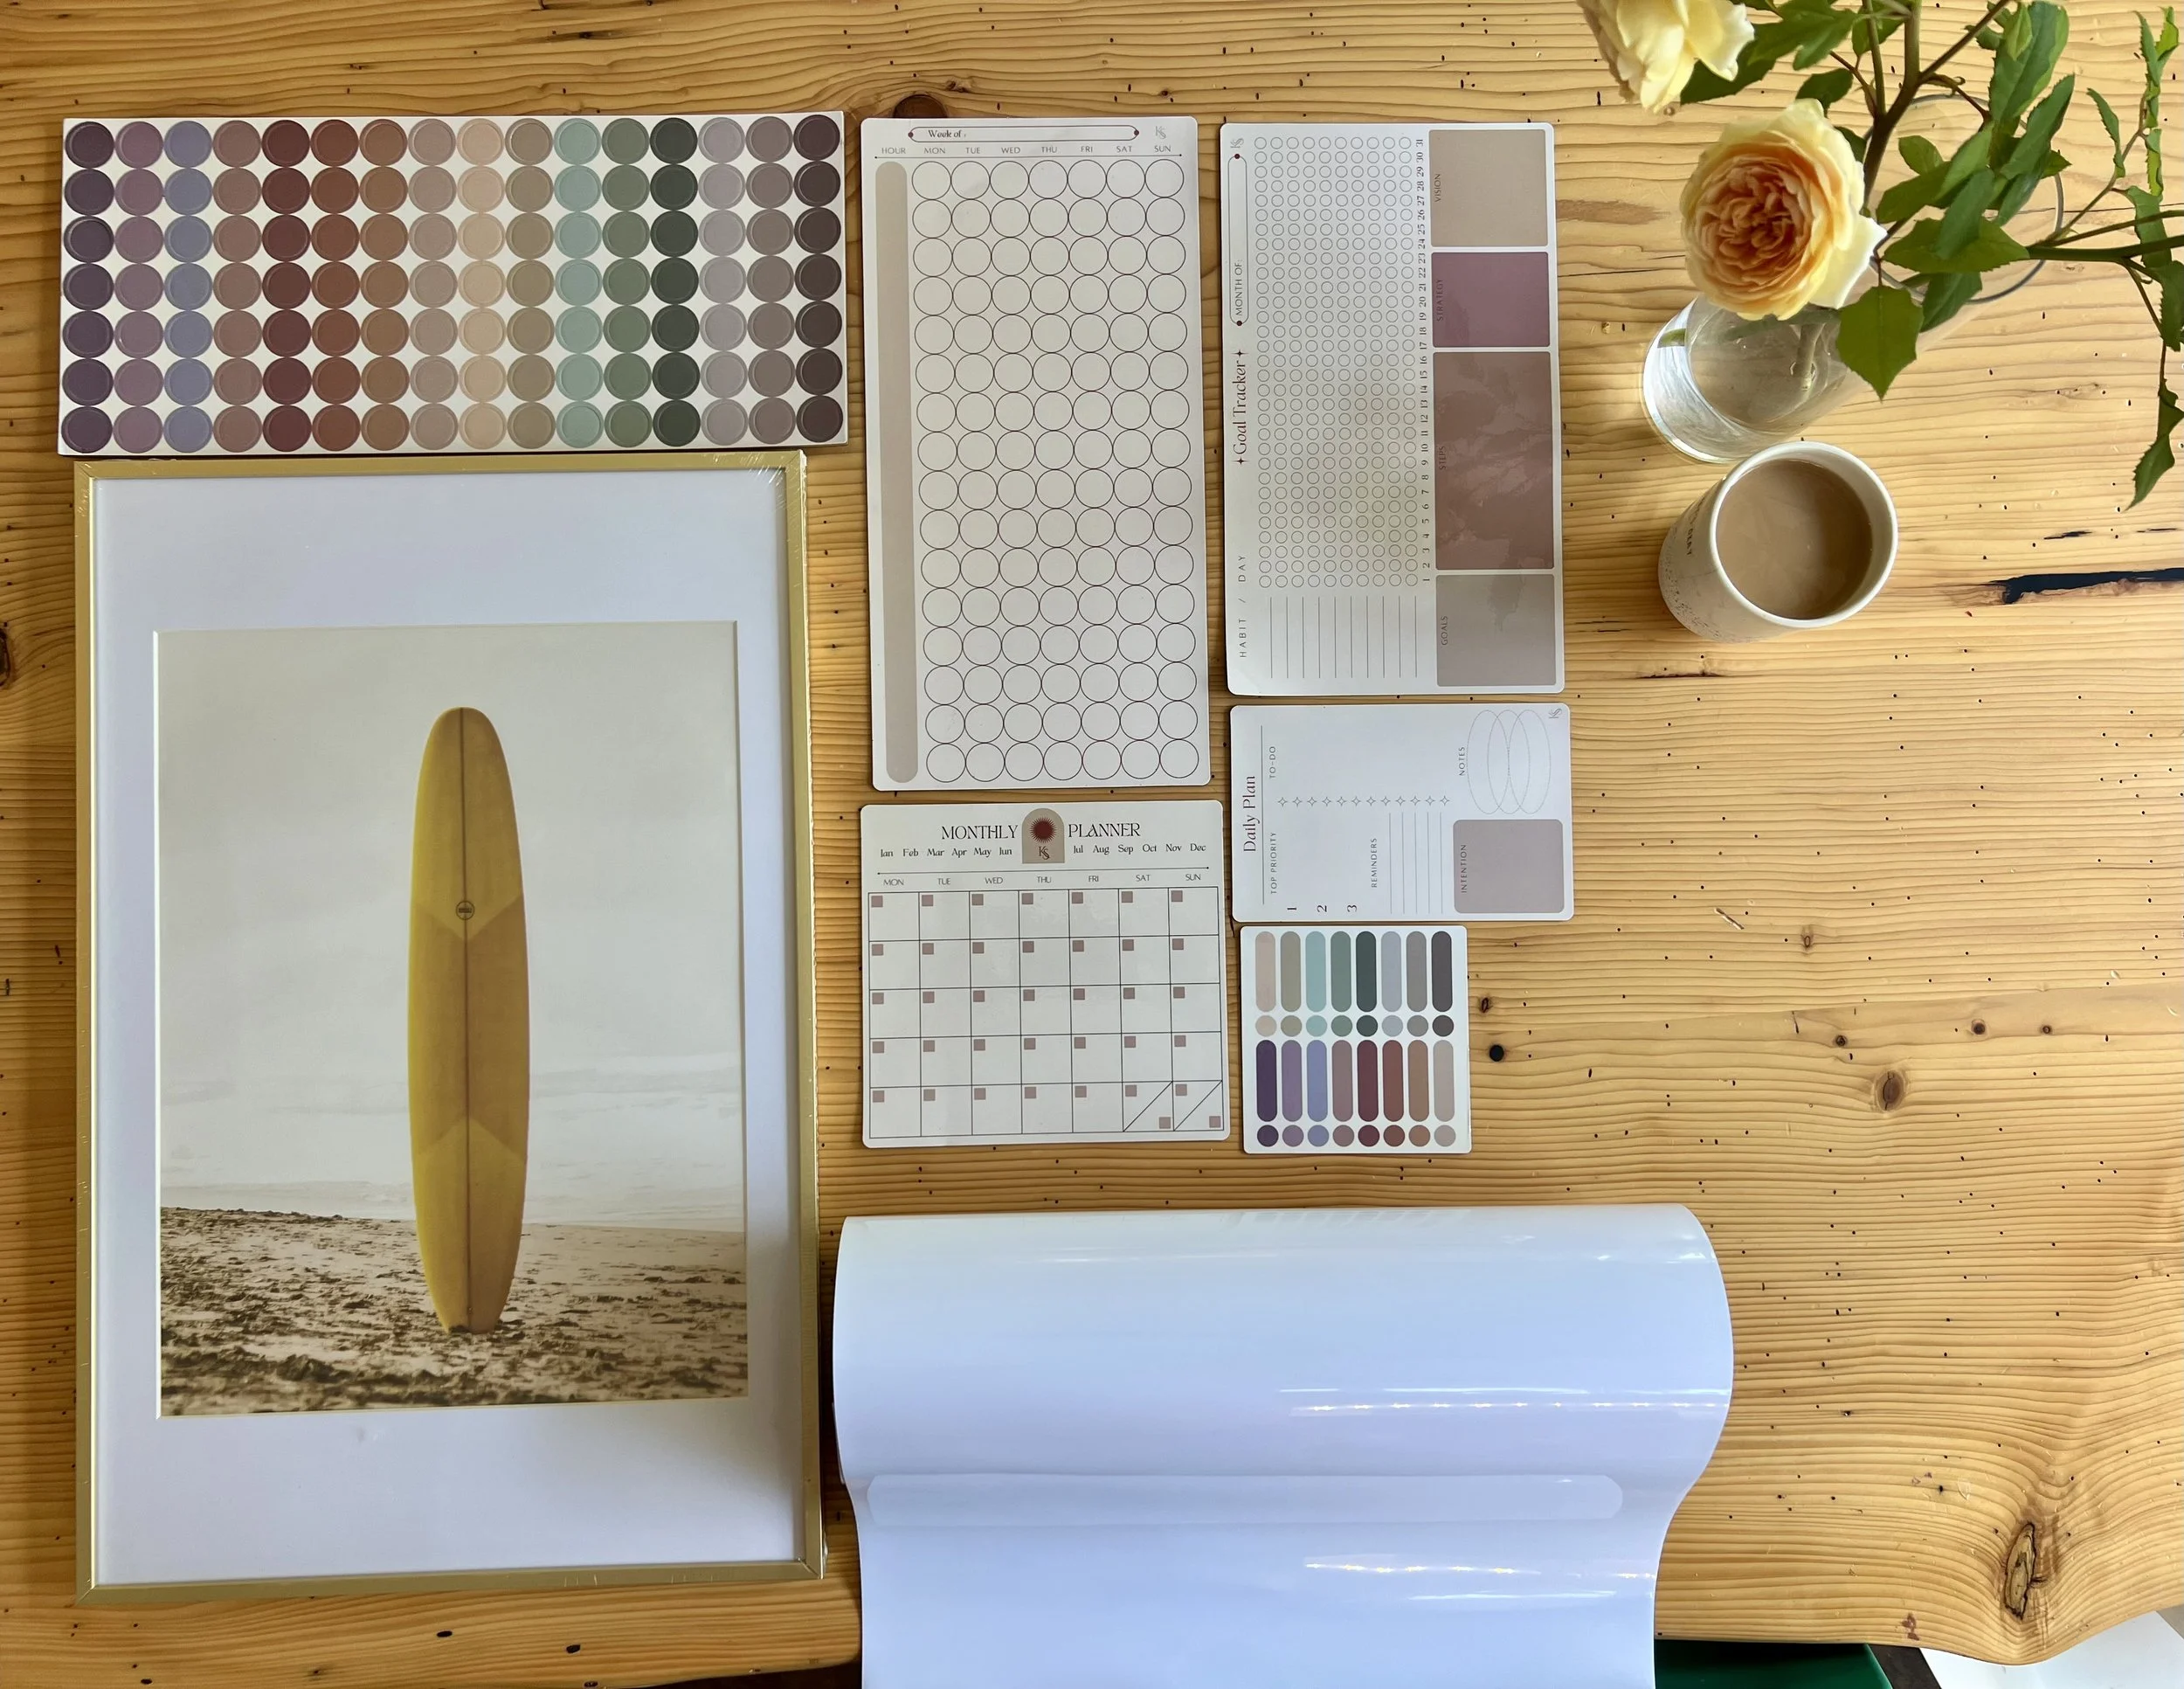
As you can see, not much! All it takes is a picture frame in your preferred size and a sheet of stick-on magnetic whiteboard material. Both can be googled, but I found what I needed on (evil) Amazon. (Also pictured is the dry-erase planner set I ordered.) I recommend a frame with plastic rather than glass for this project. I unpacked the frame layers and discovered that for my frame, the best place to attach the whiteboard roll would be the glass; the frame’s backing would not provide a smooth surface. You could choose to put it on any layer, or even a cut out of very thick poster board, using the glass or plastic as a stencil for the size. This is why I recommend plastic over glass: you may want to attach your whiteboard directly to the glass/plastic and, of course, plastic is less likely to break. (Although the whiteboard roll may hold it together. I’m not sure and don’t want to test this…)
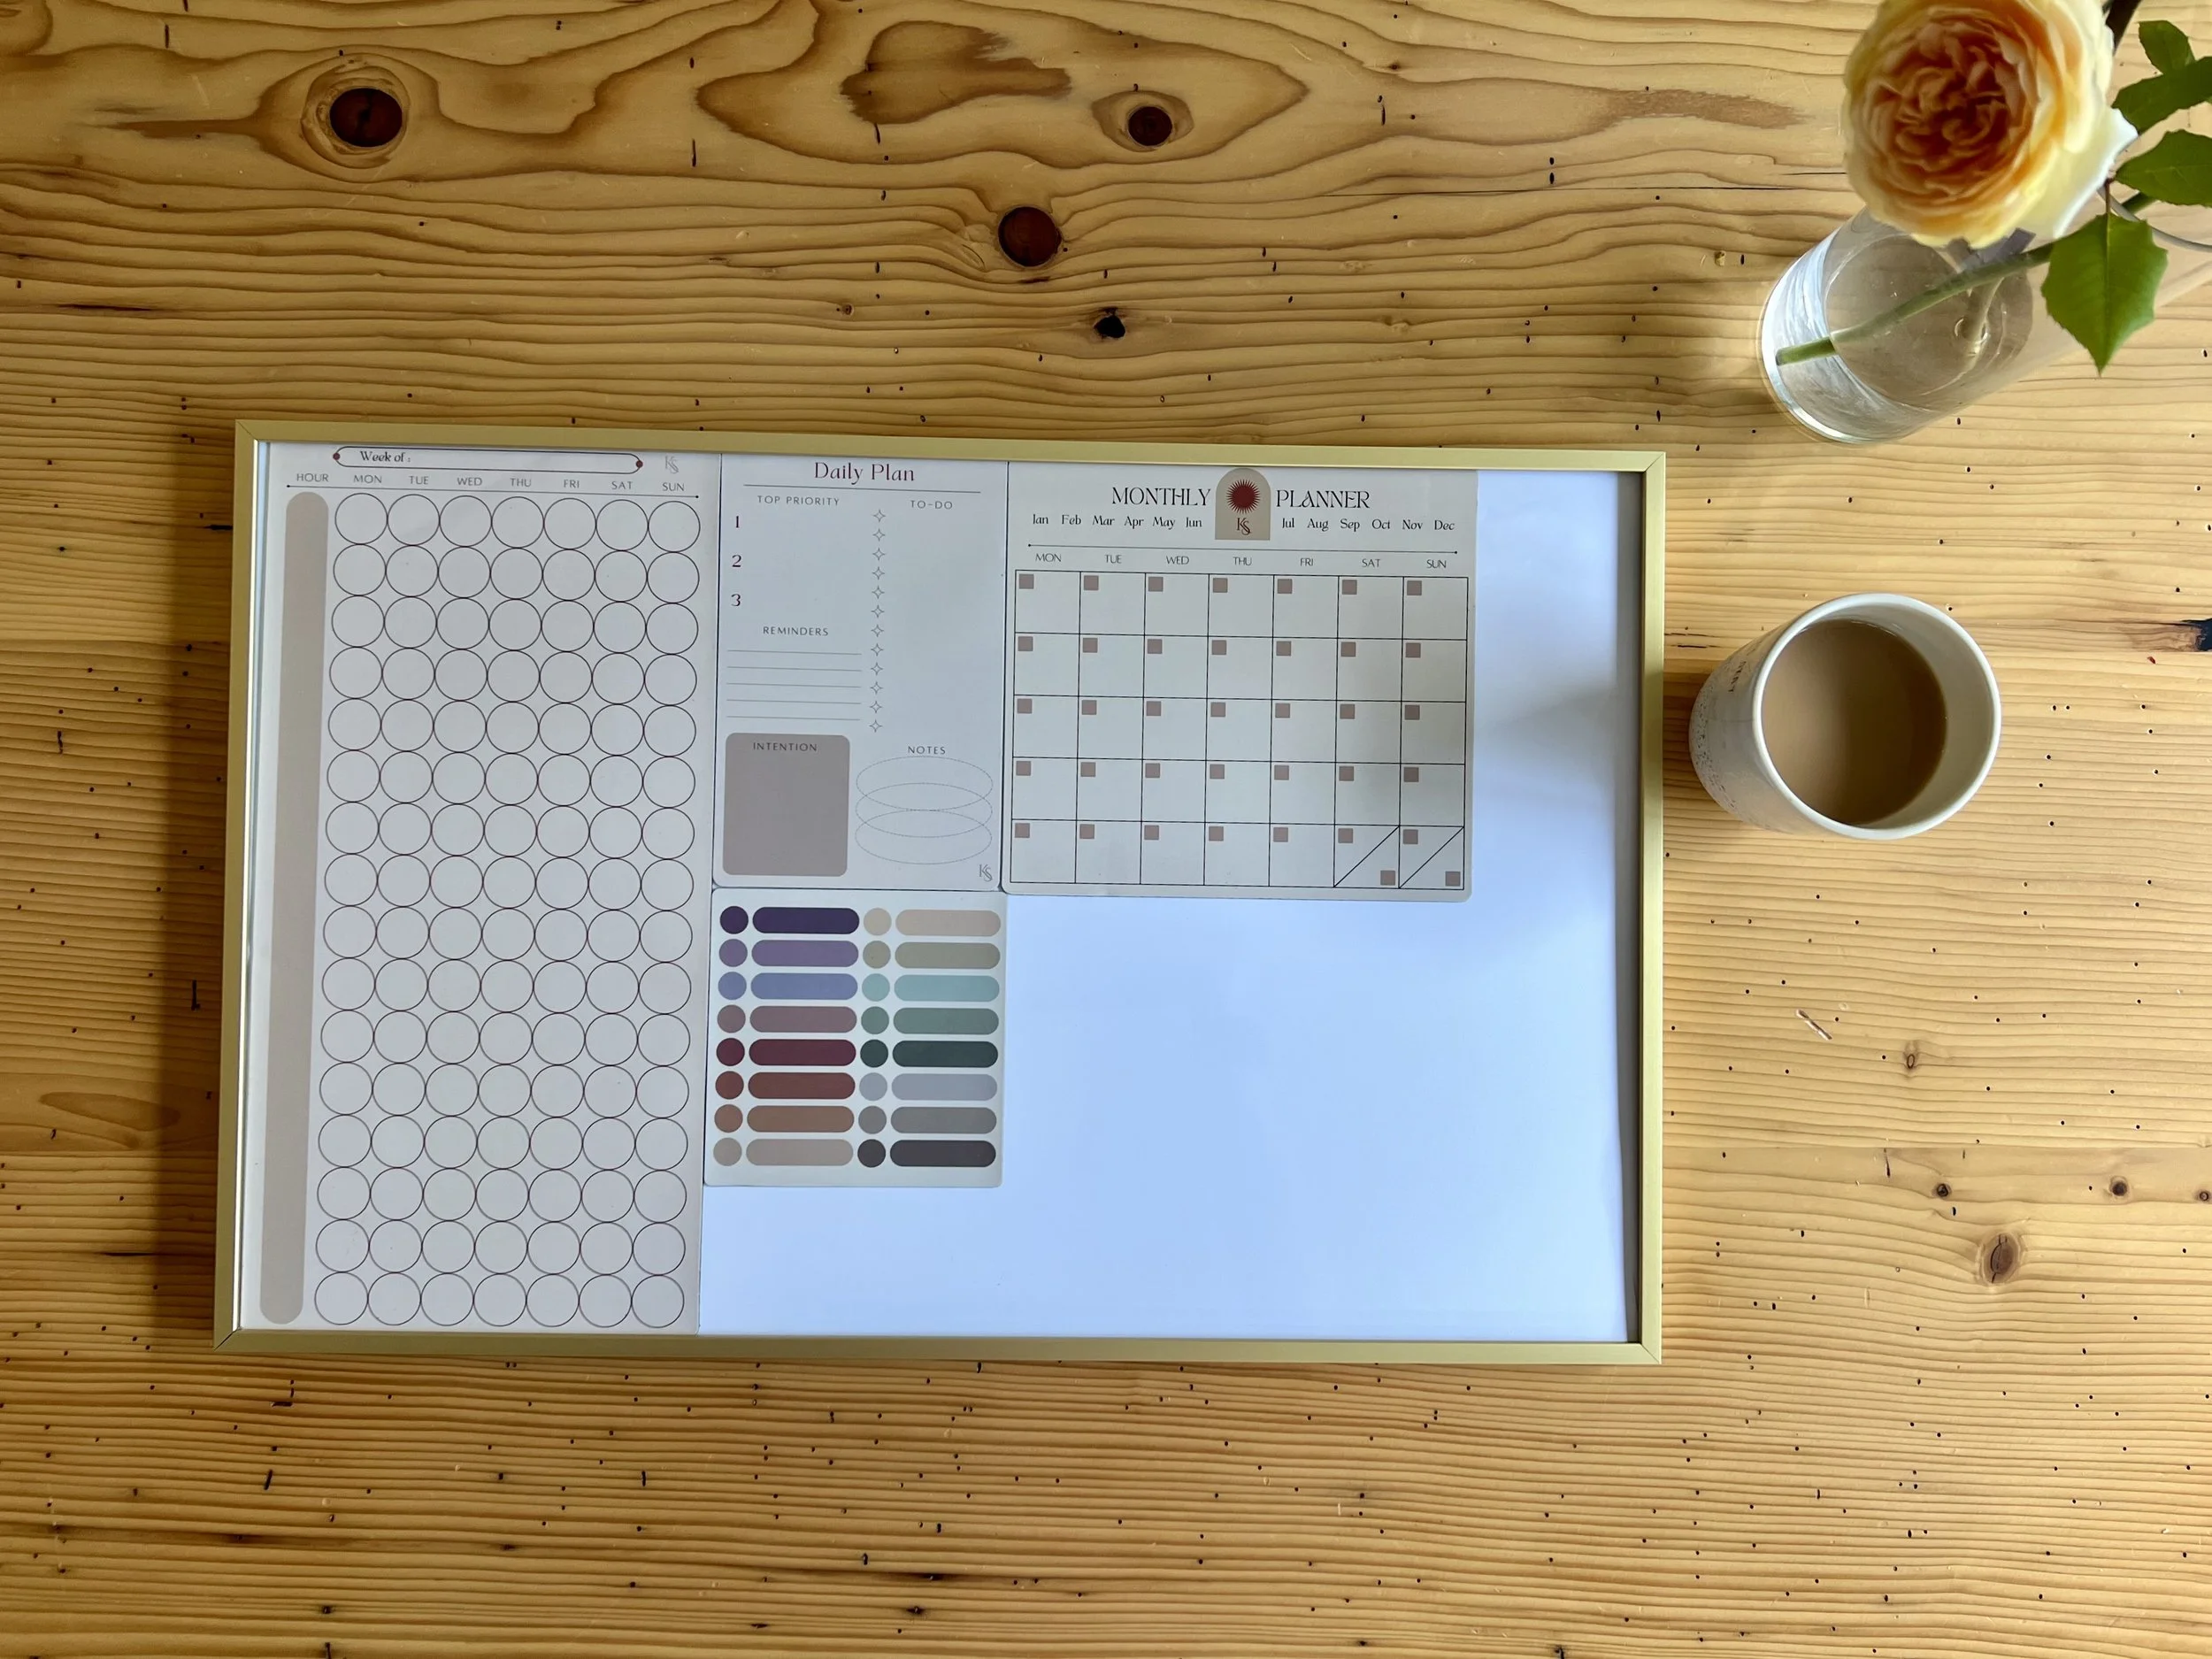
I lay down the glass on the table and slowly peeled back the film covering the sticky back of the whiteboard. This is the only tricky part of the process: getting the whiteboard on your surface without bubbles and dimples. (I did my best.) Peel back the film little by little and smooth the whiteboard onto the glass. Then, flip it over and use scissors or an exacto knife (with a cutting mat) to cut off any excess. Then pop your new whiteboard back into your frame, and voilà! I kept the frame’s mat in the frame in case I choose to use it in the future, but you can toss it if you’d like.
I got my measurements wrong and couldn’t quite fit all the planner pieces onto my new whiteboard, but I’m tracking habits in Notion, so I didn’t need that part for this purpose at the moment. I’ll try to update this when I’ve got the magnetic dots in use to plan out my weekly routine, which is my main future use case for this. As a writer, I want to create a consistent writing habit. As a person, I also need consistent chore & podcast time (The Shit No One Tells You About Writing is my preferred podcast), so I’m trying to get into a fall routine that includes both writing and chore time.
Now, there are variations on this you could do. Any board covered in an adhesive whiteboard mat can become a fully functional whiteboard. You could also stick the whiteboard mat directly to the wall, if you don’t mind the potential for drywall damage or it being difficult to remove. Finally, there’s no reason a whiteboard has to be a board. Lay it out on a table, use it, then roll it up and tuck it away when not in use. This is a great way to save space, and working in tiny spaces will be discussed in my next post.


